
Since I got a Synology NAS (DS920+) about two years ago I’ve had a few false starts with my Time Machine backup, but I think I’ve finally gotten it right.
What is Time Machine?
Time Machine is the built in macOS backup tool. It launched all the way back on Mac OS X Leopard in 2007 but I feel like it’s lost some popularity in recent years with the prevalence of cloud storage and cloud backup solutions.
Even though all of my important files are in the cloud or on my NAS (sometimes both!) I still use Time Machine because:
- It lets me quickly restore my entire Mac if something happened to it - e.g.: if my laptop was stolen I can buy a replacement and quickly restore everything back to normal without spending hours setting everything up again.
- It ensures anything I’m currently working on will be backed up - even if I haven’t had a chance to move it to the cloud yet.
- I don’t have to worry about putting large files on my desktop. Instead of Time Machine I could use Google Drive’s Computer Backup feature to backup desktop and documents folder. However, sometimes I end up working with large files and I don’t want these syncing to the cloud and I don’t want these files wasting my bandwidth and cloud storage.
Alternatives to Time Machine
It’s worth noting that Synology Active Backup for Business now supports macOS backups. This is a more modern approach, has central management, file de-duplication between computers and can support backups over the internet.
I haven’t used Active Backup for Business personally yet. It’s macOS support is fairly new and it’s more involved to install compared to Time Machine - SpaceRex did a video covering the setup process.
Setting up Time Machine
The Synology Knowledge Base has a good article to help you setup Time Machine on your NAS - Synology Knowledge Center: How do I back up files from my Mac to Synology NAS using Time Machine?
Based on some previous bad experiences while using Time Machine with my NAS, I have a few suggestions to add:
1. Use a separate volume
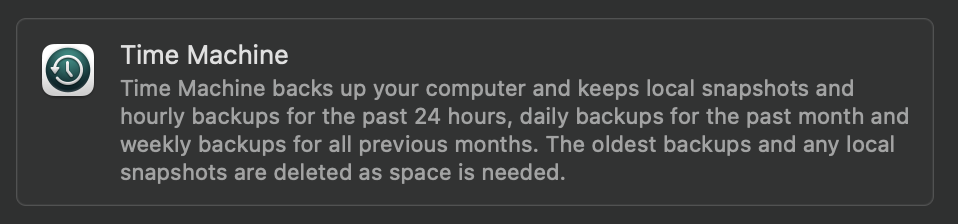
As the Time Machine system settings says - it’ll keep hourly backups for 24 hours, daily backups for a month, and then monthly backups for all time. It’ll delete oldest backups as space is needed. This is handy as it lets you jump back in time to get an old version of a file, however it also means Time Machine will fill to grow the space you give it!
The Synology guide recommends assigning a quota to prevent backups from getting too out of hand and filling your NAS. A quota enforces an upper limit for the shared folder or user so when Time Machine approaches the quota it’ll wipe old backups to keep itself in check.
However, a quota doesn’t reserve capacity for Time Machine - i.e.: it doesn’t enforce a minimum amount of space for your Time Machine backup. This means that if your NAS starts to run out of space, Time Machine will start deleting older backups to squeeze itself to fit within the remaining space.
I had this happen on my NAS, and Time Machine essentially shrunk itself to the point where it only had a few versions backed up which sort of defeats the purpose of the backup!
I believe there are two solutions to this problem:
-
Don’t let your NAS run low on disk space
Ensure you always have a good amount of free space on your NAS and you won’t run into any issues. The NAS will show a ‘warning’ state if you’re running low on space.
-
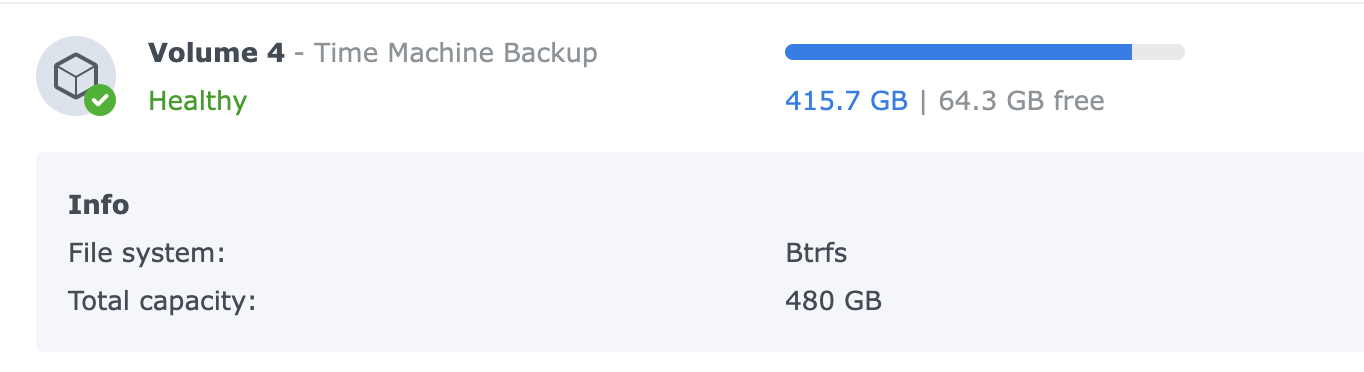
Create a dedicated volume for Time Machine
My solution to ensure the other files on my NAS didn’t eat into the Time Machine space is to setup a dedicated volume for Time Machine, containing only a Time Machine shared folder. This suggestion ruffled some feathers on Reddit so I’d recommend thinking about whether a separate volume is right for you.
Another benefit of this approach is that SSD cache’s are setup against a volume rather than a shared folder. A separate volume allows you to control whether your Time Machine backup is included in the cache - personally I wouldn’t want to waste my cache space on any Time Machine files, particularly with a write cache.
2. Don’t enable snapshots or recycling bin
The Synology guide also mentions that you shouldn’t enable the recycling bin. I’d also recommend that you don’t enable snapshots on the Time Machine backup shared folder either! Snapshots on Synology (via the “Snapshot Replication” app) allows you to keep previous versions of the files in your shared folder - much like what Time Machine does for your Mac.
Time Machine stores your files as a ‘sparsebundle’. It looks like a big file within macOS, but in reality it’s actually a folder structure containing thousands of little files. If one of these files is changed or deleted it might be retained in a previous snapshot or the recycling bin. This means that Time Machine might try to free up some space by deleting files but no space is actually reclaimed!
I enabled snapshots on my Time Machine backup folder when I setup my NAS initially. I did this because I figured it could help me recover from a corrupt Time Machine backup or ransomware attack. However, much like in 1), I ended up in an odd situation where Time Machine wanted to free up space by deleting some files, but with no space actually reclaimed it’d just keep trying to delete stuff to free up space. This resulted in most of my backups being deleted - again defeating the point of a backup!
So keep it simple - you don’t need snapshots or a recycling bin for your Time Machine backup. If you’re concerned about Time Machine getting corrupted or a ransomware attack wiping it out then you should consider an off-site backup (but maybe a backup of your backup is overkill!?).
3. Don’t worry about adding another layer of encryption
This is already mentioned in the Synology guide, but you don’t need to bother adding another layer of encryption (either shared folder encryption or volume encryption) to your Time Machine backup as long as you enabled encryption when you configured Time Machine.
Remember that Time Machine stores your files as a ‘sparsebundle’ which is just a bunch of little files. If you’ve got encryption enabled then these little files are encrypted gibberish so you don’t need to waste your NAS’s CPU time by adding a redundant layer of encryption.
So far following these rules have kept my Time Machine running reliably - but it has taken a few iterations to get this right!
Edit, 18th September 2023 I’ve updated this post based on some feedback I’ve received. It now mentions Synology Active Backup for Business as a potential alternative to Time Machine, makes the Synology guide clearer, and adds clarification about using a separate volume for Time Machine.